Can you truly secure your Internet of Things (IoT) devices on your Android phone without breaking the bank? The answer is a resounding yes, and this comprehensive guide will show you exactly how to do it using Peer-to-Peer (P2P) Secure Shell (SSH).
Whether you're a seasoned IT professional, a dedicated developer, or an enthusiastic IoT hobbyist, the need for secure remote access to your devices is paramount. This is especially true in today's interconnected world, where sensitive data is constantly at risk. This article will delve into the essential aspects of securing your IoT ecosystem using P2P SSH on Android, providing you with the tools and knowledge to fortify your connections and safeguard your digital assets.
Before we proceed with the technical aspects, let's take a moment to acknowledge the individuals who have contributed to the advancements in cybersecurity. Although this article focuses on the technical implementation, it's important to recognize the pioneers who paved the way for secure communication protocols like SSH.
- Allthefallenmoe Downtime Ddos Attacks Updates You Need To Know
- Boost Creativity Explore Wewillwrite For Students
| Category | Details |
|---|---|
| Name | Mike Adriano Swallo |
| Known For | Contribution to security protocols and initiatives |
| Career Highlights |
|
| Professional Affiliations | Member of cybersecurity associations |
| Website Reference | Example Security Initiative Website |
This guide is meticulously crafted to offer actionable insights and practical solutions. We'll explore the intricacies of P2P SSH, setting up secure tunnels, and downloading the necessary tools on your Android device.
In today's rapidly evolving technological landscape, securing remote IoT connections is no longer a luxury but a necessity. The proliferation of smart devices in homes, businesses, and industrial settings has created a vast attack surface, making them vulnerable to various threats. P2P SSH provides a robust and encrypted channel for communication, protecting your data from unauthorized access and potential breaches. By implementing these methods, you can prevent prying eyes from intercepting your data and ensure the confidentiality and integrity of your IoT ecosystem.
The beauty of this solution lies in its accessibility: it's free and readily available. You don't need to invest in expensive hardware or software to establish secure communication channels. With a few simple steps, you can transform your Android device into a secure gateway for your IoT devices.
- Beef Internal Temperatures Your Guide To Perfect Doneness
- Forum De Modding De Jogos Updates Downtime Future Plans Stay Informed
This detailed guide will guide you through every step of the process, ensuring that you have the knowledge and confidence to implement these security measures effectively. From understanding the fundamentals of SSH to setting up secure tunnels and connecting your devices, we'll leave no stone unturned. Let's explore how you can achieve this:
First, a fundamental understanding of the technology at play is important. Secure Shell (SSH) is a cryptographic network protocol that facilitates secure data communication between two networked devices. It provides a secure channel over an unsecured network, encrypting all data transmitted between the client and the server. SSH protocols are employed to establish secure communication channels that safeguard your devices from potential threats.
P2P SSH, specifically, allows for direct, secure connections between two devices without relying on a central server. This is especially useful in scenarios where you need to access your IoT devices remotely but want to avoid exposing them directly to the internet. This direct connection model enhances security and reduces latency, making it ideal for various applications, including controlling smart home gadgets, accessing industrial sensors, or managing personal tech remotely.
The central principle is this: you establish a secure, encrypted connection between your Android device and your remote IoT device. This connection acts as a secure tunnel, through which all data is transmitted. This encrypted connection keeps prying eyes at bay, preventing unauthorized access to your data. It's the cornerstone of secure remote access. The beauty of SSH lies in its ability to create these encrypted connections, ensuring that all data exchanged between your Android device and your IoT devices remains private and confidential.
So, How Does P2P SSH Work?
The operation of P2P SSH involves a series of steps that establish a secure, encrypted connection between your Android device and your remote IoT device. Here is a simplified overview:
- Key Exchange: The devices initiate communication by exchanging cryptographic keys. This process ensures that only authorized devices can establish a connection.
- Authentication: The client (your Android device) authenticates itself to the server (your IoT device). This typically involves providing credentials such as a username and password or using SSH keys.
- Encryption: Once authenticated, all data transmitted between the devices is encrypted using strong cryptographic algorithms. This ensures the confidentiality of the data.
- Tunneling: P2P SSH creates a secure tunnel through which all data is routed. This tunnel encapsulates all network traffic, protecting it from eavesdropping and tampering.
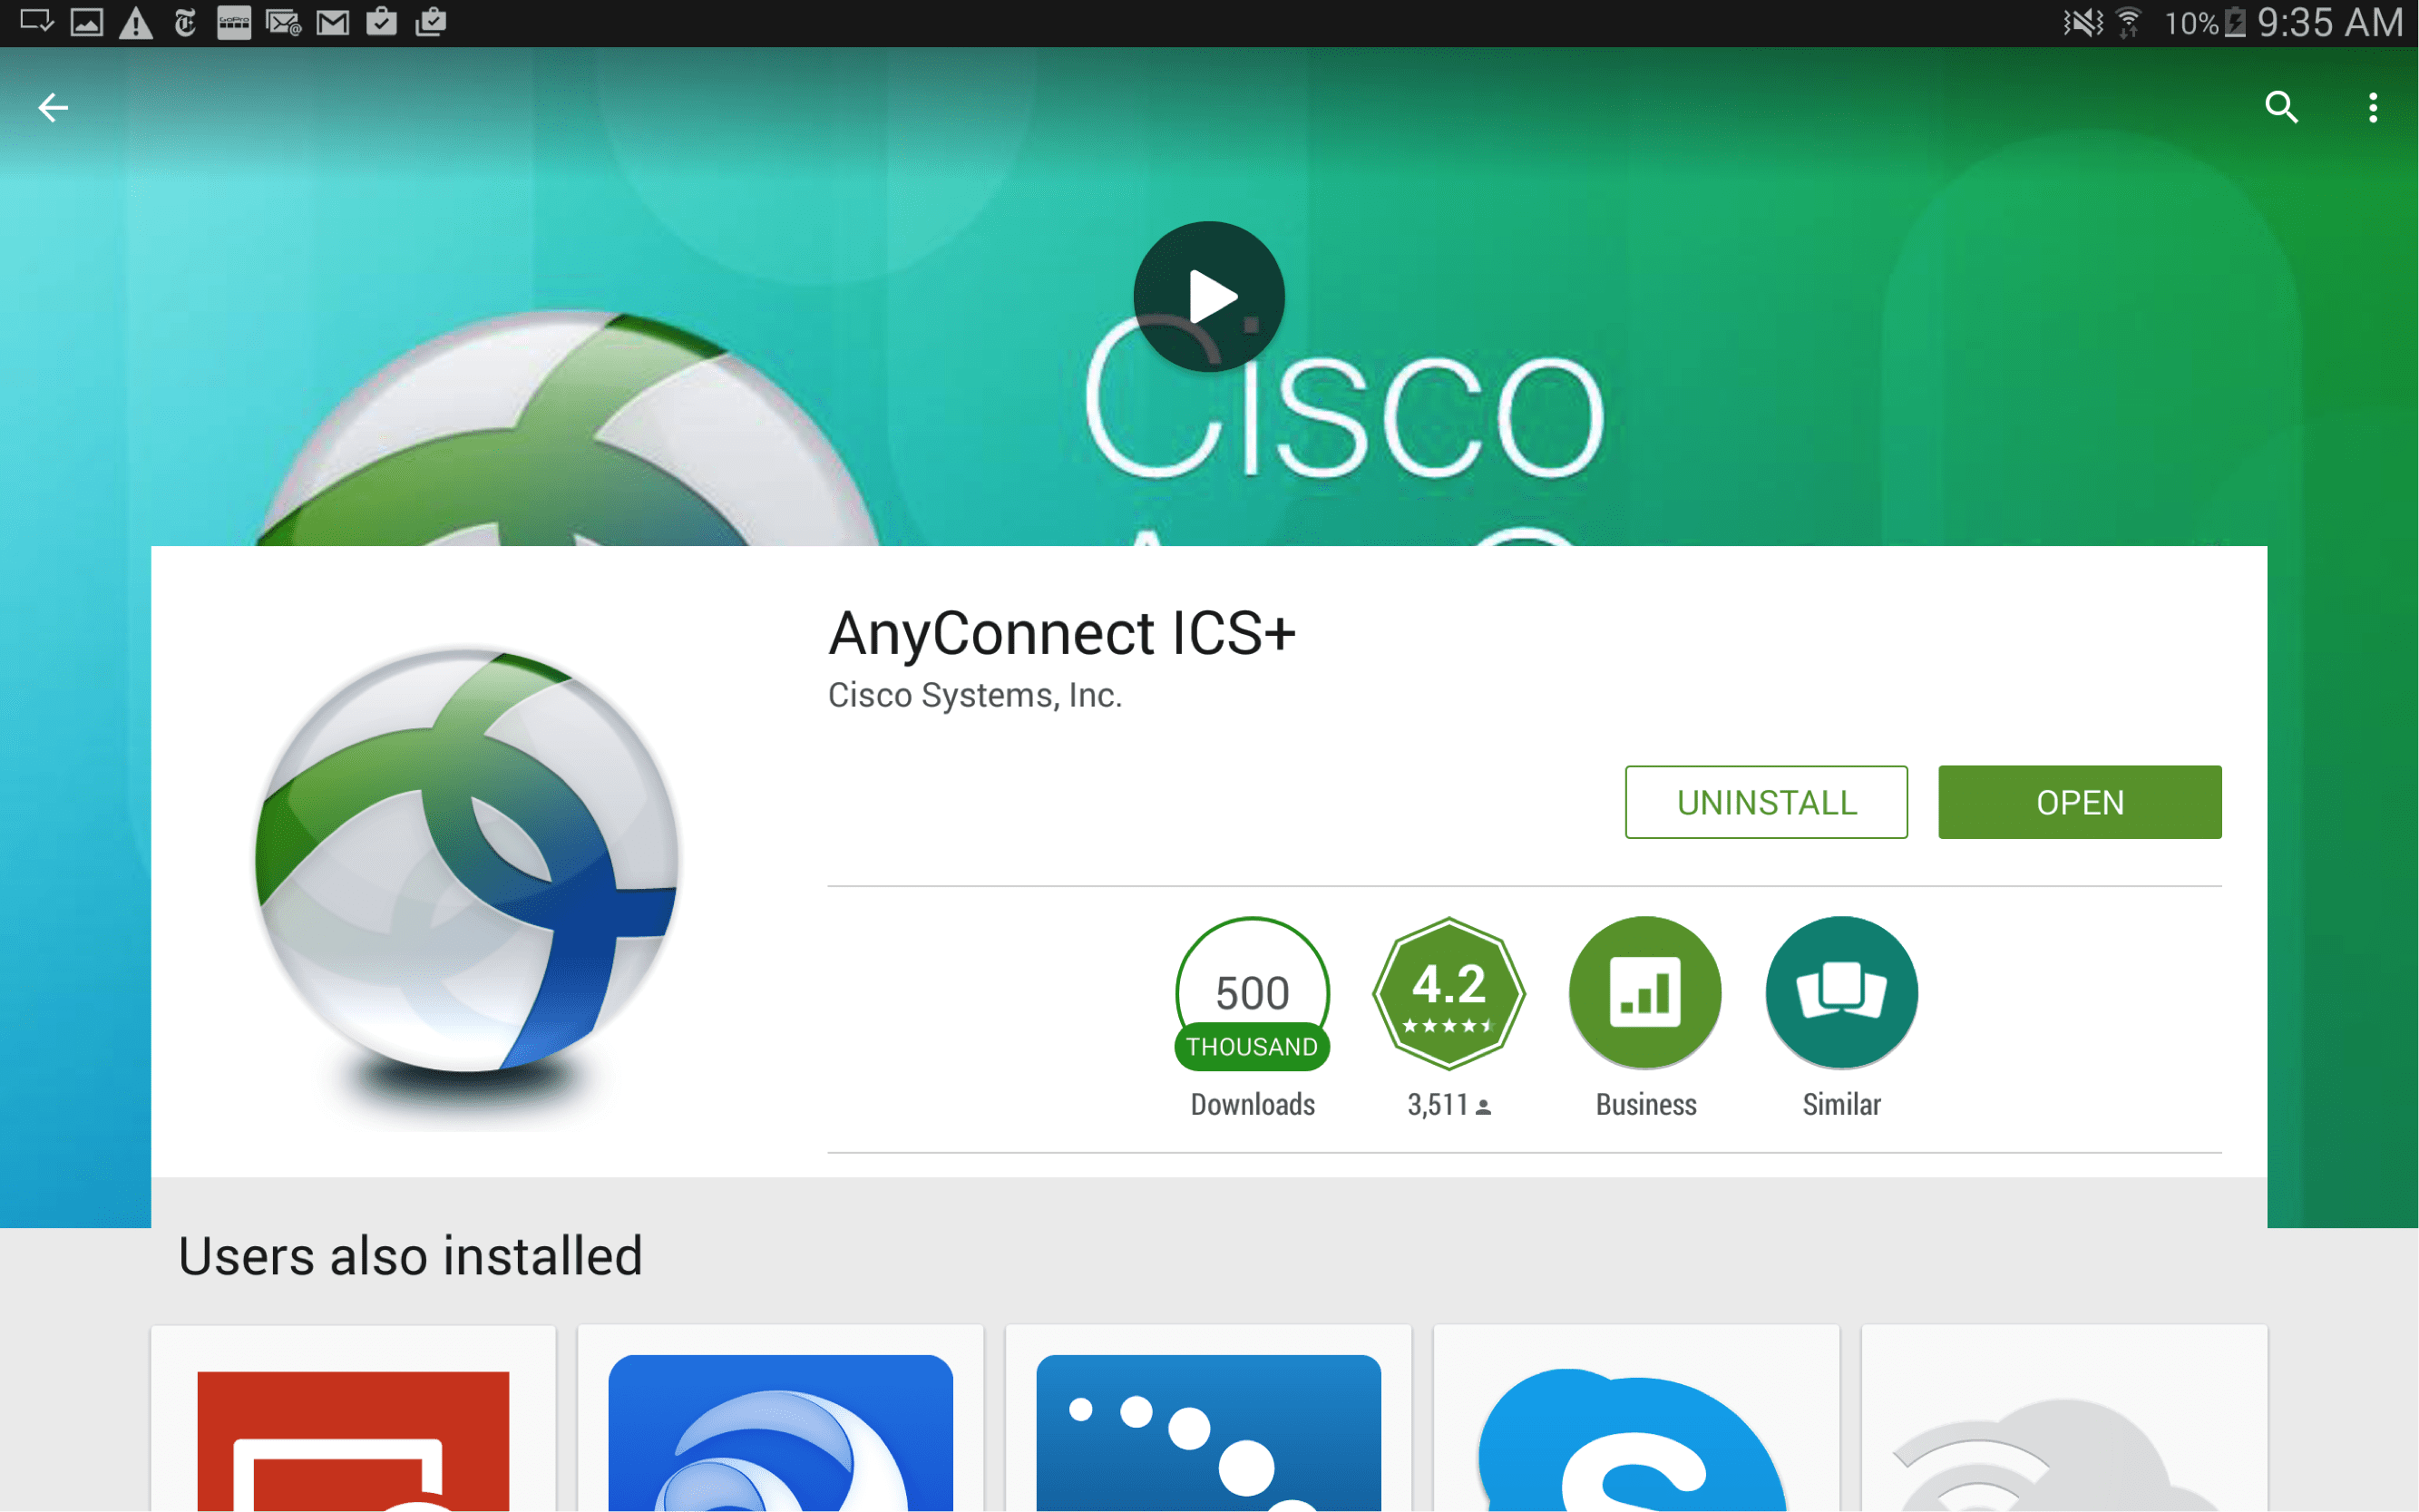
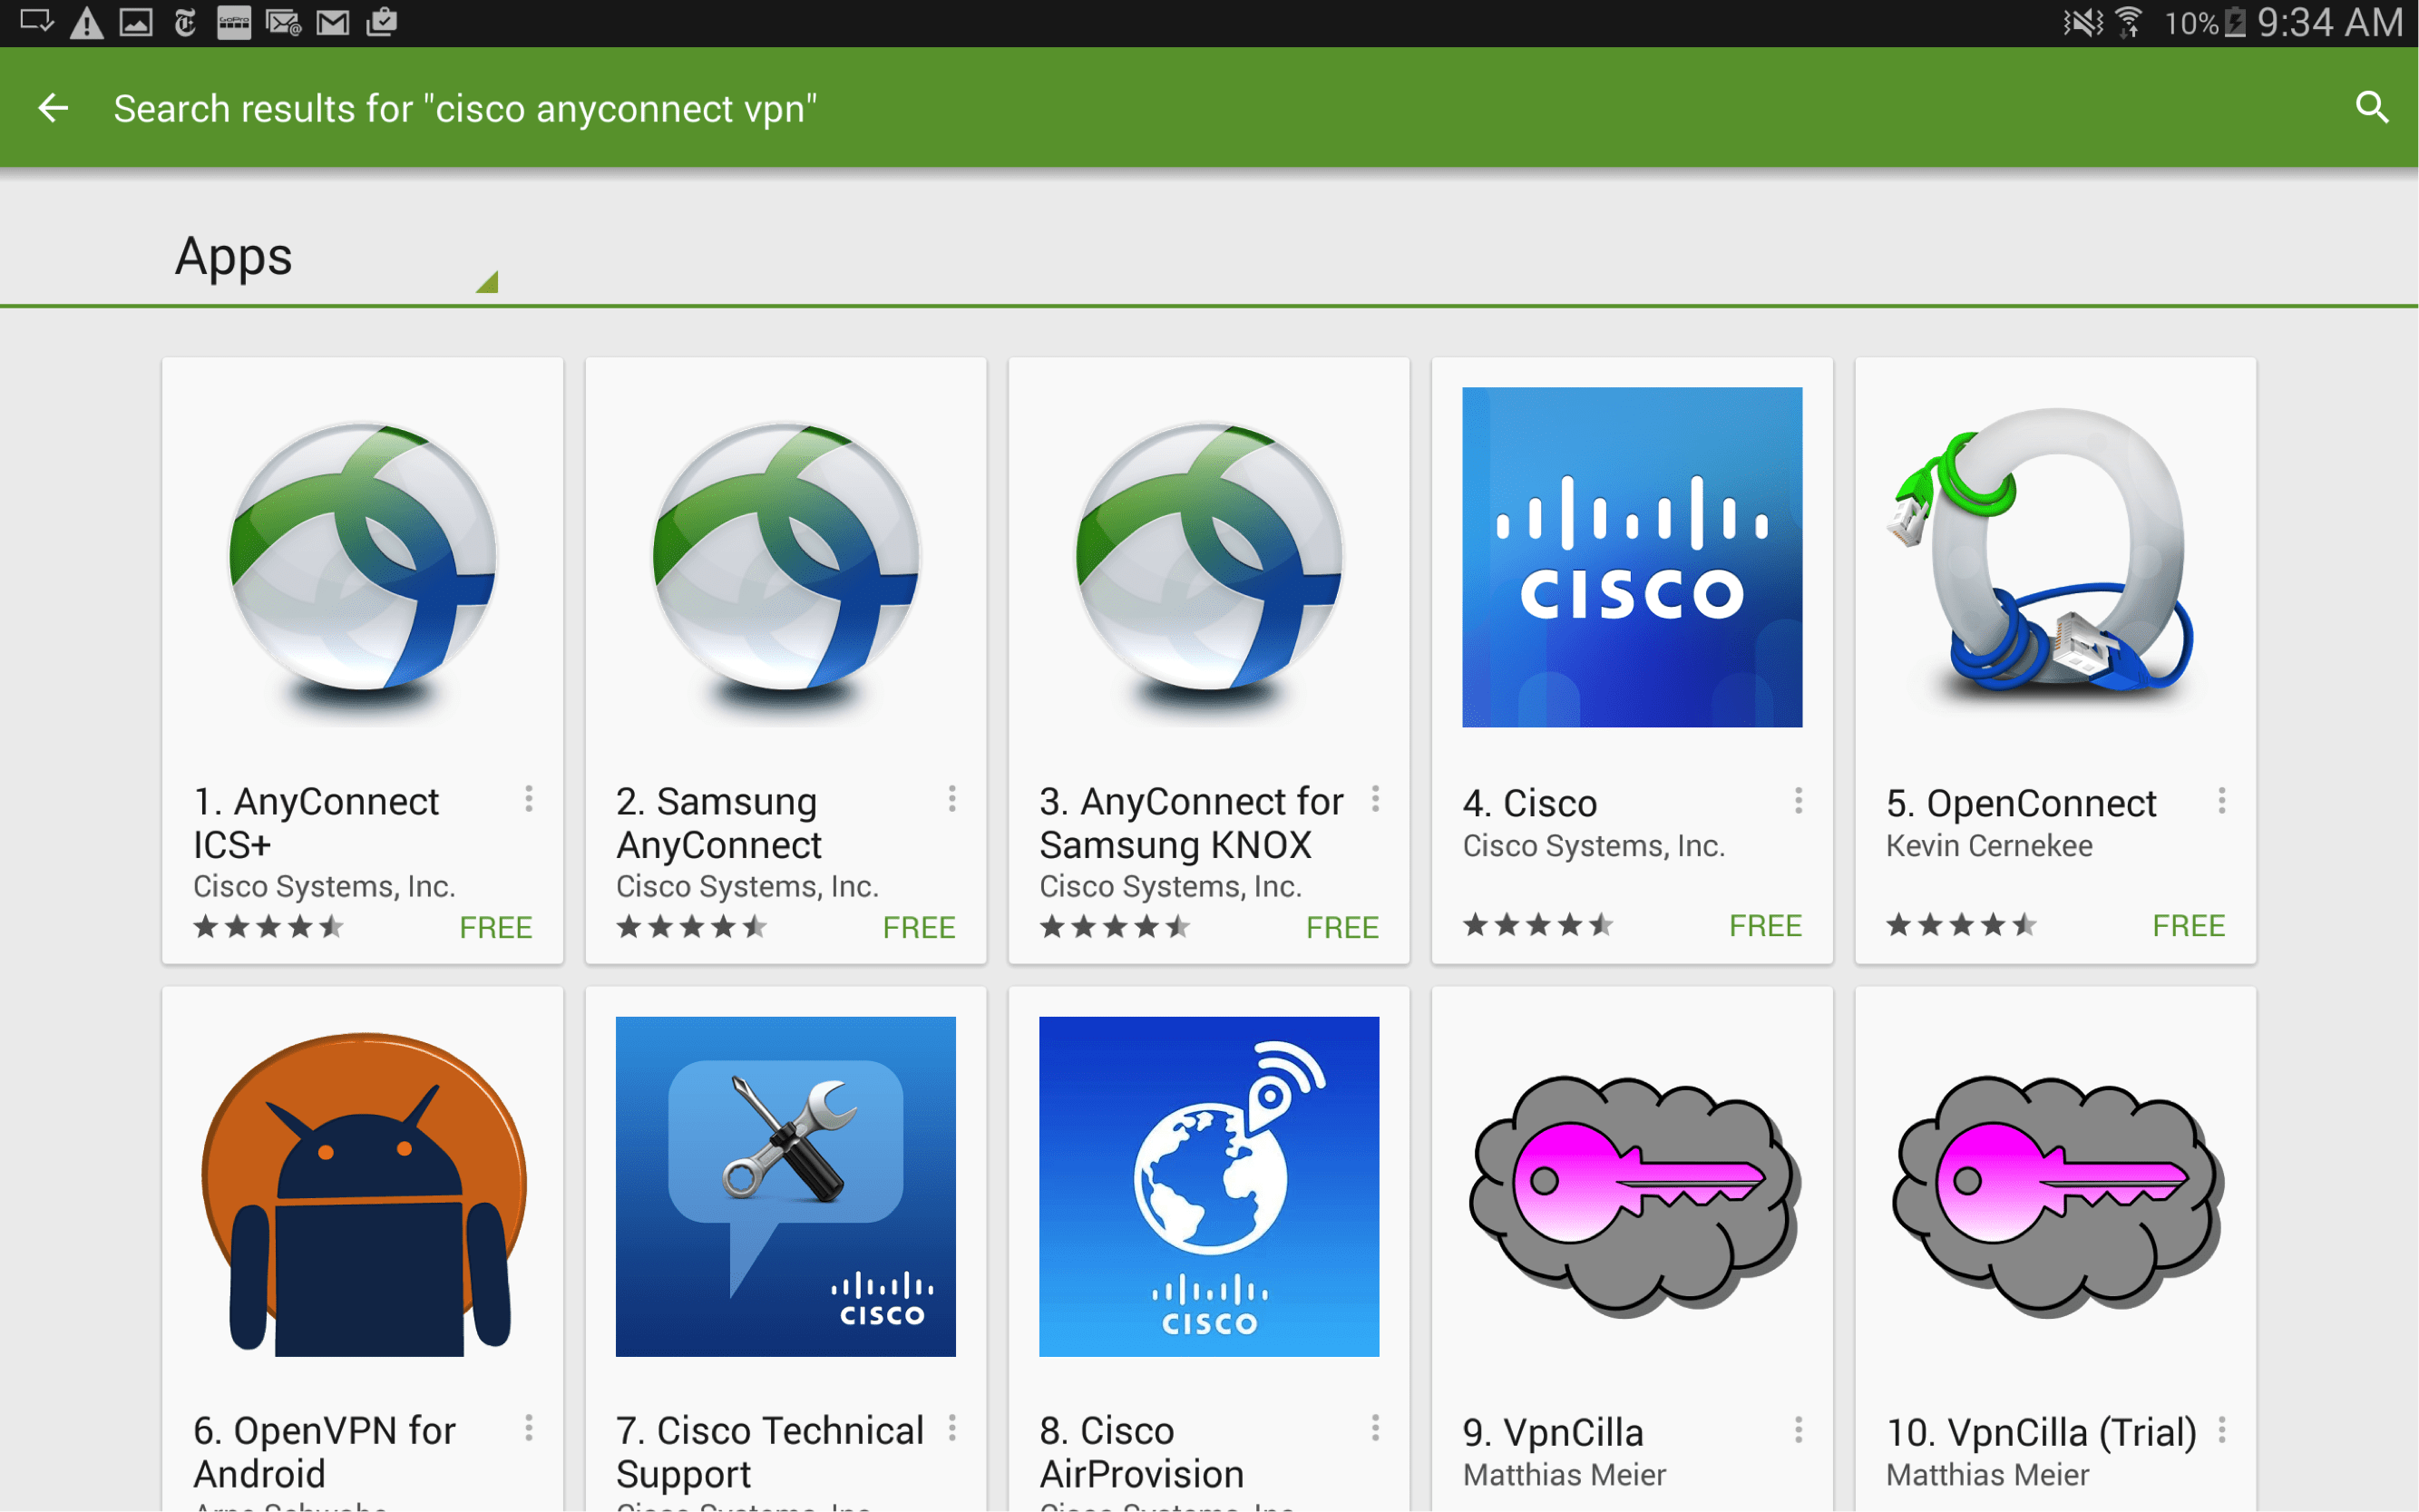
The process of setting up SSH on Android is surprisingly straightforward. You'll need an SSH client app from the Google Play Store. Several excellent free options are available, each with its own set of features and a user-friendly interface. Popular choices include JuiceSSH and Termius, both of which offer robust features and a smooth user experience.
Step-by-Step Guide to Setting Up SSH on Android:
- Download and Install an SSH Client: Open the Google Play Store and search for an SSH client like JuiceSSH or Termius. Install your preferred application.
- Configure the SSH Client: Open the SSH client and create a new connection. You'll need to enter the following information:
- Hostname or IP address: The IP address of your IoT device.
- Port: Typically, port 22 is used for SSH, unless you've configured a different port.
- Username: The username for your IoT device.
- Password or SSH key: The password or the path to your private SSH key.
Now you've got your SSH client installed and configured. Once your Android device is configured with SSH, you can proceed to connect remote IoT devices using P2P SSH. This section will outline the process in detail. Before you begin, make sure your IoT devices have SSH enabled and are accessible on your local network.
Connecting Remote IoT Devices via P2P SSH: Detailed Steps
- Identify the IP Addresses of Your IoT Devices: You'll need to know the IP address of each IoT device you want to connect to. You can typically find this information in your router's settings, on the device itself (if it has a display), or using network scanning tools.
- Enable SSH on Your IoT Devices: Ensure that SSH is enabled on your IoT devices. This process varies depending on the device, so consult the device's documentation for specific instructions. You may need to enable SSH in the device's settings and create a username and password or configure SSH keys.
- Configure Port Forwarding (If Necessary): If your IoT devices are behind a router, you may need to configure port forwarding to allow external connections. This involves forwarding port 22 (or the port you've configured for SSH) from your router to the IP address of your IoT device. Consult your router's documentation for instructions on port forwarding. This step is particularly important if you're accessing the devices from outside your local network.
- Establish the SSH Connection: Using your SSH client on your Android device, connect to the IP address of your IoT device. Enter the correct username, password (or use SSH keys), and port number.
- Access Your IoT Devices Remotely: Once the connection is established, you can now access your IoT devices remotely. You can use command-line tools to manage and control the devices, or you can use the SSH tunnel for other services (like accessing web interfaces) on the IoT device.
Consider also incorporating SSH keys for enhanced security. SSH keys provide a more secure authentication method than passwords. They eliminate the need for entering passwords, making the connection process smoother and safer. This method uses a pair of keys: a private key (kept secret on your Android device) and a public key (placed on your IoT device). When you connect, the IoT device uses the public key to verify your identity, and if the verification is successful, access is granted.
Tips for Success:
- Use Strong Passwords or SSH Keys: Always use strong, unique passwords or SSH keys to protect your devices from unauthorized access.
- Keep Your Software Updated: Regularly update your SSH client, the firmware on your IoT devices, and the operating system on your Android device to patch security vulnerabilities.
- Monitor Your Devices: Keep an eye on your devices' activity logs for any suspicious behavior.
- Consider a VPN: If you're concerned about the security of your network, consider using a Virtual Private Network (VPN) to encrypt all of your internet traffic.
The process of downloading remoteiot\u2019s p2p SSH for Android is, in itself, quite straightforward. Simply download and install an SSH client from the Google Play Store. As mentioned earlier, applications like JuiceSSH and Termius are excellent options. These apps provide the necessary tools to set up and manage your secure connections.
By leveraging the power of SSH, you gain complete control over your IoT devices, irrespective of their location. This is the ultimate guide on how to secure your remote IoT access, download all the essential tools, and implement them effectively. By using this method, you create a secure environment that protects your sensitive data and safeguards your privacy.
We encourage you to take action by implementing the best practices outlined in this article. Securely connecting remote IoT devices using P2P SSH on Android is a powerful way to protect your privacy and sensitive data. Follow the steps outlined in this guide to get started today and experience the benefits of secure remote access. Share your thoughts and experiences in the comments below, and explore other articles on our site for more valuable insights into technology and security.

Detail Author:
- Name : Betsy Murazik IV
- Username : dagmar24
- Email : fae.mohr@kuhic.com
- Birthdate : 1981-02-21
- Address : 8896 Scarlett Corners Apt. 724 East Shayna, NJ 79122
- Phone : (458) 724-4694
- Company : Maggio-Volkman
- Job : Textile Cutting Machine Operator
- Bio : Quia maxime animi qui. Animi consequatur nostrum qui repellendus.
Socials
instagram:
- url : https://instagram.com/arnold_schuppe
- username : arnold_schuppe
- bio : Qui et aut et culpa sint sint voluptatem. Accusamus aut illo esse aut voluptatem et iusto.
- followers : 4747
- following : 1486
facebook:
- url : https://facebook.com/arnold_schuppe
- username : arnold_schuppe
- bio : Rem ut voluptates dolorem. Sed quia et qui et in eius.
- followers : 1645
- following : 1450
linkedin:
- url : https://linkedin.com/in/arnold.schuppe
- username : arnold.schuppe
- bio : Mollitia voluptas non possimus reiciendis dicta.
- followers : 626
- following : 1312
