Are you yearning to tap into the power of your Raspberry Pi from afar, but find yourself stymied by the digital barricade of a firewall? The good news is that remotely accessing your Raspberry Pi, even when it's shielded behind a firewall on a Windows network, is not just possible it's achievable, and surprisingly straightforward.
This comprehensive guide is your passport to mastering the art of remote Secure Shell (SSH) access to your Raspberry Pi. We'll unravel the complexities, demystify the jargon, and walk you, step-by-step, through the process. Whether you're a seasoned tech aficionado or a curious beginner, this article will provide you with the knowledge and tools needed to establish a secure and reliable connection. We'll navigate the often-confusing terrain of firewalls, routers, and network configurations, ensuring you can access your Raspberry Pi from virtually anywhere.
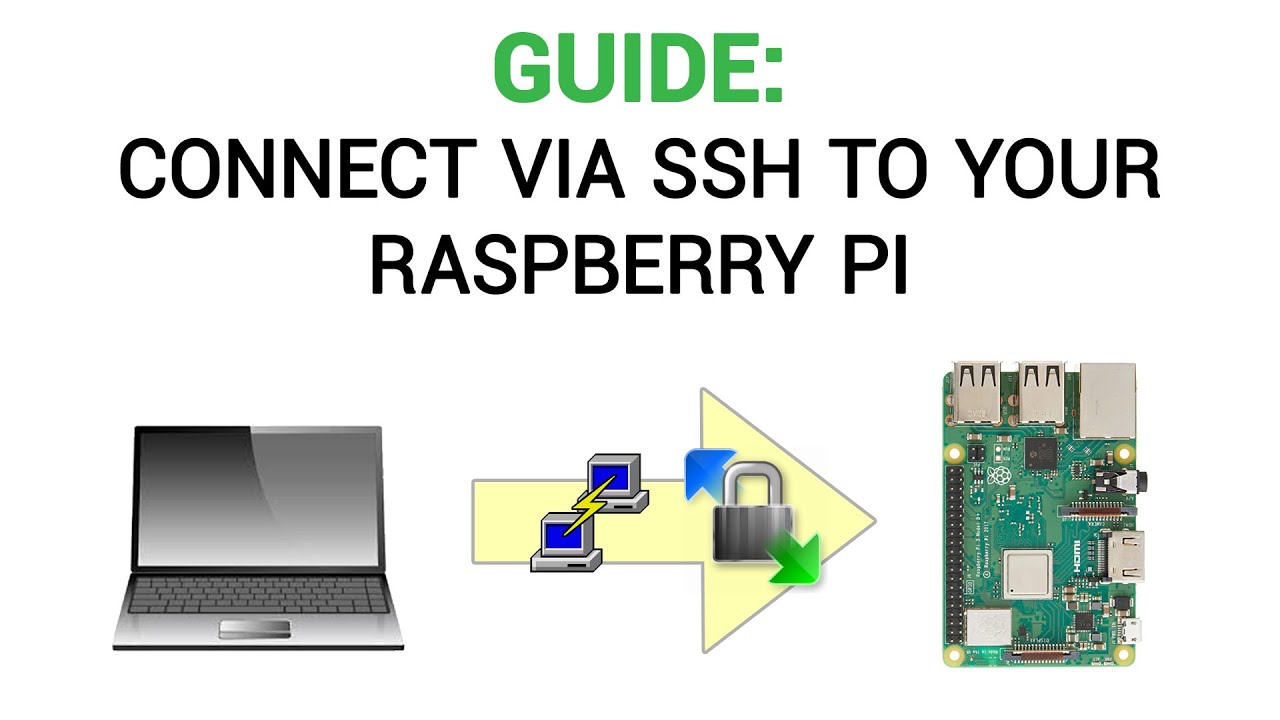
Key Steps to Remote SSH Access
Gaining remote access to your Raspberry Pi involves a series of strategic configurations and the utilization of some essential tools. The process can be broken down into several crucial steps:
- Exploring Allthefallen Anime Manga Community Latest Updates More
- Steak Doneness Guide Perfect Internal Temperatures Howto
- Enabling SSH on Your Raspberry Pi: By default, SSH is often disabled. We'll show you how to activate it within your Raspberry Pi's settings.
- Router Configuration (Port Forwarding): The firewall on your router prevents unsolicited connections. You'll learn how to configure port forwarding to allow SSH traffic through.
- Windows SSH Client: You'll need a suitable SSH client on your Windows machine. We'll explore popular options like PuTTY, highlighting their benefits and ease of use.
- Dynamic DNS (Optional, but Recommended): Because your IP address can change, a dynamic DNS service helps you maintain a consistent address for remote access.
- Alternative Solutions (Ngrok, Pagekite): For those seeking simpler solutions, we'll cover how services like Ngrok or Pagekite can provide seamless remote access.
The core of establishing a secure and robust remote access setup for your Raspberry Pi relies on understanding and implementing the following key concepts:
- Understanding SSH: Secure Shell (SSH) is a cryptographic network protocol for operating network services securely over an unsecured network. SSH establishes a secure channel over an unsecured network in a client-server architecture, connecting a SSH client application with an SSH server. The protocol provides a secure channel over an unsecured network in a client-server architecture, connecting an SSH client with an SSH server.
- The Role of the Firewall: A firewall acts as a gatekeeper, examining network traffic and deciding whether to allow or deny it. You'll learn how to instruct your firewall to permit SSH traffic.
- Port Forwarding Explained: Port forwarding directs incoming network traffic from your router's external IP address and port to a specific device (your Raspberry Pi) on your local network.
- Dynamic DNS and its Benefits: Since your public IP address can change periodically, dynamic DNS services provide a static hostname that always points to your current IP, simplifying access.
Before we delve into the specifics, its important to clarify the core components involved in this process. Your Raspberry Pi will act as an SSH server, waiting for connection requests. Your Windows machine will use an SSH client to initiate and manage the remote connection. Your router will act as the intermediary, controlling the flow of traffic between the internet and your home network. And, finally, a firewall, either on your router or your Windows machine, will regulate network access.
Technical Deep Dive
Now, let's roll up our sleeves and examine the practical steps involved. We will guide you through configuring the settings, using tools, and adopting best practices.
- Emma Culligan On Oak Island Uncovering Secrets Making Headlines
- Denny Duquettes Death A Heartbreaking Greys Anatomy Story
1. Enabling SSH on Your Raspberry Pi
The first step is to enable SSH on your Raspberry Pi. This is usually disabled by default. Heres how to enable it:
- Access Your Raspberry Pi: You can do this by connecting a monitor, keyboard, and mouse directly to your Raspberry Pi, or by SSH-ing into it from another device on your local network if you have SSH already enabled (perhaps you've connected via Ethernet).
- Open Raspberry Pi Configuration: There are several ways to do this:
- Using the graphical interface: If you have a monitor connected, click on the Raspberry Pi icon in the top-left corner, go to "Preferences," and then select "Raspberry Pi Configuration."
- Using the terminal: If you're using SSH from another device, use the command `sudo raspi-config`.
- Navigate to Interfacing Options: In the Raspberry Pi Configuration window, select "Interface Options."
- Enable SSH: Choose "SSH" and then select "Enable."
- Reboot (If Necessary): Your Raspberry Pi may prompt you to reboot. If it does, go ahead and reboot the device.
2. Configuring Your Router (Port Forwarding)
The most crucial step for accessing your Raspberry Pi remotely is configuring your router to forward SSH traffic to your Pi. Every routers interface is different, but the general steps are similar:
- Access Your Routers Configuration Page: Youll need your router's IP address (usually 192.168.1.1 or 192.168.0.1, but check your router's documentation) and the admin username and password. Open a web browser and enter the routers IP address.
- Locate Port Forwarding Settings: Look for a section called "Port Forwarding," "Virtual Servers," or something similar in your router's settings. The exact location varies depending on your routers manufacturer.
- Create a New Port Forwarding Rule: You'll need to create a new rule to forward port 22 (the standard SSH port) to your Raspberry Pi.
- Name: Give the rule a descriptive name, such as "SSH to Pi."
- Protocol: Select "TCP" (SSH uses TCP).
- Port Range: Enter "22" for both the "External Port" and the "Internal Port." You can also set the external port to a different number, for security purposes, but this complicates the connection process a bit.
- Internal IP Address: Enter the internal IP address of your Raspberry Pi. You can find this by logging into your Raspberry Pi and typing `ifconfig` in the terminal, or by checking your router's connected devices list.
- Enable the Rule: Make sure the rule is enabled.
- Save Your Changes: Save the configuration and restart your router if necessary.
3. Setting Up a Windows SSH Client (PuTTY Example)
PuTTY is a popular and free SSH client for Windows. It's easy to set up and use:
- Download PuTTY: Go to the PuTTY website (or a trusted source) and download the installer.
- Install PuTTY: Run the installer and follow the prompts.
- Configure PuTTY:
- Host Name (or IP address): Enter your public IP address or your dynamic DNS hostname in the "Host Name (or IP address)" field.
- Port: Enter "22" (unless you configured a different external port in your router).
- Connection Type: Make sure "SSH" is selected.
- Save the Session (Optional): Give your session a name and click "Save" to save the settings for future use.
- Connect: Click "Open."
- Log In: You will be prompted for your Raspberry Pi's username and password. Enter them.
4. (Optional, But Recommended) Dynamic DNS
Your public IP address can change over time. Using a dynamic DNS (DDNS) service provides a static hostname (e.g., `myraspberrypi.ddns.net`) that always points to your current IP address. Heres how to set this up:
- Choose a DDNS Provider: Some popular providers include No-IP, DynDNS, and DuckDNS (DuckDNS is often recommended for its simplicity).
- Create an Account: Sign up for an account with your chosen provider.
- Create a Hostname: Create a hostname through their website (e.g., `myraspberrypi.ddns.net`).
- Install a DDNS Updater on Your Raspberry Pi or Router: Many routers have built-in DDNS client support. Otherwise, install an updater on your Raspberry Pi. The updater automatically updates your hostnames IP address when your public IP changes.
- Configure the Updater: Configure the updater with your DDNS providers settings (username, password, hostname).
- Use the Hostname in PuTTY: In your PuTTY settings, use your dynamic DNS hostname instead of your public IP address.
5. Alternative Solutions (Ngrok/Pagekite)
Services like Ngrok and Pagekite offer a simplified way to expose your Raspberry Pi without dealing with port forwarding or dynamic DNS. They create a secure tunnel to your Raspberry Pi, making it accessible through a public URL.
- Sign Up for an Account (if needed): Create an account on Ngrok or Pagekite (both offer free tiers).
- Download and Install the Client: Download and install the client software on your Raspberry Pi.
- Connect and Configure: Follow the instructions from Ngrok or Pagekite to create a tunnel to port 22 on your Raspberry Pi. This will often involve running a command in the terminal.
- Use the Provided URL: They will give you a public URL that you can use with PuTTY to connect to your Raspberry Pi.
Troubleshooting
Even with meticulous planning, issues can arise. Let's explore some common problems and their solutions:
- Connection Timed Out: This typically means your router's firewall is blocking the connection, or you have the incorrect public IP address. Double-check your port forwarding settings, ensure you have the correct public IP address (you can find this by searching "what is my ip" on Google), and confirm that the SSH server is running on the Pi.
- "Network Error: Connection Refused": This suggests the SSH server isnt running on your Raspberry Pi, or that your SSH service is not listening on the correct port. Make sure SSH is enabled and that the service is started on your Raspberry Pi. Double-check the port number in your routers port forwarding configuration and in PuTTY.
- Incorrect Username/Password: Ensure you're using the correct username and password for your Raspberry Pi. The default username is often "pi" and the password is "raspberry" (change this for security!).
- Firewall on Your Windows Machine: The Windows firewall might also be blocking the connection. Create an inbound rule in the Windows Firewall to allow SSH traffic on port 22 (or your chosen port).
- Incorrect Port Forwarding: Review your routers port forwarding settings. Ensure the internal and external ports match, and that the internal IP address is correct. Also, make sure that the protocol (TCP) is correct.
Security Best Practices
Securing your Raspberry Pi is crucial when exposing it to the internet. Follow these best practices:
- Change Default Password: Immediately change the default "pi" users password. Use a strong, unique password.
- Use Key-Based Authentication: Implement SSH key-based authentication instead of password-based authentication for enhanced security. This involves generating a key pair (a private key and a public key) and placing the public key on your Raspberry Pi. This will enable you to log in without typing your password.
- Update Your System Regularly: Keep your Raspberry Pis software up to date to patch security vulnerabilities. Run `sudo apt update` and `sudo apt upgrade` regularly.
- Disable Password Authentication (If Possible): After setting up key-based authentication, consider disabling password authentication to further enhance security. You can do this by editing the SSH configuration file (`/etc/ssh/sshd_config`) and changing `PasswordAuthentication yes` to `PasswordAuthentication no`.
- Monitor Logs: Regularly check your SSH logs (`/var/log/auth.log`) for suspicious activity.
- Use a Non-Standard SSH Port: Change the SSH port from the default 22 to a less common port. This can help reduce the number of automated attacks you see. You can change the port by editing the SSH configuration file (`/etc/ssh/sshd_config`) and changing the `Port` line. Then, you will also need to update the port forwarding in your router and your PuTTY settings.
- Consider Fail2ban: Install Fail2ban, a intrusion prevention software. This tool monitors your logs and automatically bans IP addresses that attempt to brute-force login attempts.
- Limit SSH Access: Consider limiting SSH access to specific IP addresses or ranges.
VNC Remote Desktop Integration
While SSH is great for command-line access, sometimes you want to view and control the full graphical interface of your Raspberry Pi. VNC (Virtual Network Computing) is an excellent solution for this. After establishing a remote SSH connection, you can then use that connection as a tunnel to establish a VNC connection.
- Install a VNC Server on Your Raspberry Pi: Some popular options include TightVNC and RealVNC. Use the command `sudo apt install tightvncserver` to install TightVNC.
- Configure the VNC Server: After installation, run `vncserver` to set a password and configure the display settings.
- Connect to VNC Through SSH Tunneling: In PuTTY, set up an SSH tunnel (port forwarding). Go to "Connection" -> "SSH" -> "Tunnels" and add a new forwarded port. Enter a source port (e.g., 5900), the destination as `localhost:5900`, and select "Local." Click "Add."
- Connect with a VNC Client: Use a VNC client (like TightVNC Viewer) on your Windows machine to connect to `localhost:5900`. Use the VNC password you set when running `vncserver`.
This will allow you to securely view and control your Raspberry Pis desktop remotely.
Conclusion
By following these detailed steps, you can successfully ssh into your raspberry pi behind a firewall using windows 10.The integration of SSH with other services, like VNC for remote desktop access, unlocks the true potential of your Raspberry Pi from anywhere in the world.


Detail Author:
- Name : Humberto Turner
- Username : bkiehn
- Email : evans.reichert@hotmail.com
- Birthdate : 1978-08-15
- Address : 45921 Reynolds Alley South Rasheedshire, OK 21896
- Phone : 619.717.6678
- Company : Koss, Nolan and Ondricka
- Job : Millwright
- Bio : Autem omnis explicabo dolorum id. Hic consequatur eum fuga excepturi accusamus voluptate ab distinctio. Inventore accusamus quia laborum magni molestiae.
Socials
tiktok:
- url : https://tiktok.com/@lizzie.o'hara
- username : lizzie.o'hara
- bio : Temporibus ex aut rem libero.
- followers : 4918
- following : 2573
facebook:
- url : https://facebook.com/lo'hara
- username : lo'hara
- bio : Sed occaecati qui cum excepturi aut.
- followers : 5550
- following : 1333
